Fender is renowned as the greatest and most sought-after maker in the world, and not only are they the best but they are also some of the most expensive guitars out there.
Having stated that, you will never be able to make a mistake with whatever you deal with in your guitar playing experience. They do produce some of the most popular and greatest guitars on the market.
Fender doesn’t just sell guitars, however. They also have a wide range of accessories, including amps which are incredibly popular, out there.
What is the Fender Blues Jr. Reverb?
The Fender Blues Jr. reverb is a component of Fender’s renowned Hot Rod collection of tube amplifiers. It is recognized as a high-quality, simple, and lightweight tube amplifier for usage on stage or in the studio.
The Fender Blues Jr. allows you to enjoy the greatest capabilities and functions of any amp, and as the name implies, this is a small-sized compact amp that is particularly built to provide the correct playing experience and preferences for playing blues and more aggressive music.
Technology Behind Fender Blues Jr. Reverb
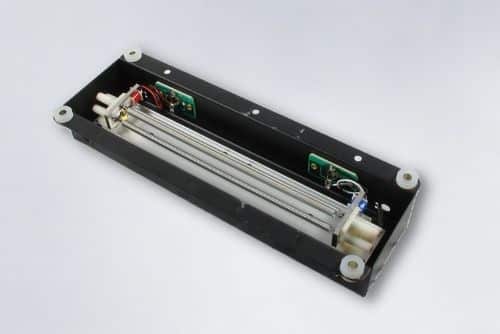
It works out pretty well, and you don’t have to worry much about it most of the time. The science underlying the Fender reverb is quite basic and straightforward. The reverb component is a spring-loaded mechanism with long and thin springs.
It’s kept in a tank at the amp panel’s bottom. The amp provides electrical impulses to the springs, causing them to move. If you have a problem with the reverb on your Fender amplifier, it is simple to identify and fix. A few solutions that can help you get over the problem and make it work for the needs you might be having are:
Test to See The Reverb Tank Issues
- Using an Ohm Meter to Test a Reverb Tank
If the reverb in your Fender amp no longer functions and you assume it is due to a faulty reverb tank, you may examine it with an ohmmeter.
- Remove the reverb wires from the amplifier’s base.
- Through the use of an ohmmeter, measure the resistance of the reverb tank’s supply. Place your ohmmeter leads between the base and shield of the reverb tank’s output wire to accomplish this. The measurement at the protected cable’s socket will be about 200Ω for most amps with tube reverberation circuits.
- Move another lead to the end of the input cable, leaving one wire on the shield of the return cable.
When you measure the resistance of the input thinner, unshielded RCA cable, it will be about 1Ω. If one of the points indicates open (.000), the tank is faulty.
This process not only tests the resistivity of the sensors within the tank but also validates the common shield connection formed via the tank’s metal.
- Using an Ohm Meter to Test a Reverb Cable
An ohmmeter can also be used to test reverb wires. The 2KΩ or consistency testing option is the most effective. You obtain an open reading of 000 if you link the probes/leads altogether. Connect 1 lead with one end of the wire’s end and another lead to the other end’s base.
You should have an open reading done (once again .000). If your ohm meter has a continuity test feature and you set it to it, it should beep. Perform the same test between the RCA plug’s shell and return wires to verify whether you have continuity there.
How to Fix Fender Blues Jr Reverb Not Working
1. Optimize the Settings
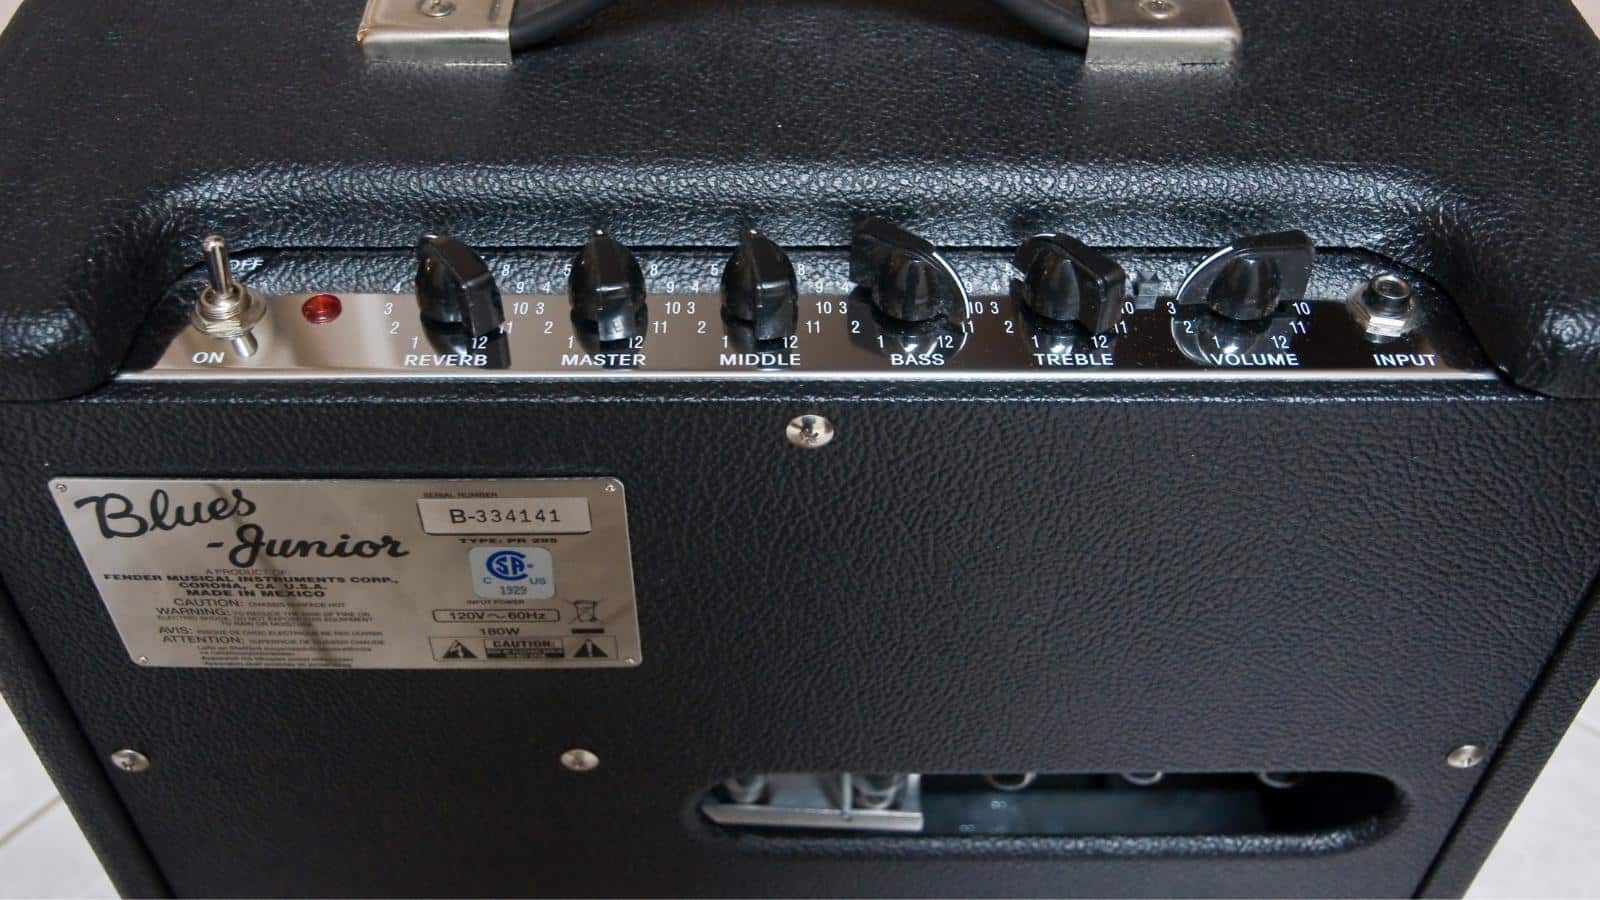
There are different settings on the Fender amps, including this one that gets you some knobs on there, allowing you to choose the best preferences for the amp that you might have been using.
With all that being said, you need to set the echo, loudness, and other preferences accordingly on the amp so that they can work out perfectly for you and you don’t have to face any sort of problems, such as reverb not working on your Fender Blues JR.
You need to adjust the knobs just right and ensure that you are not making the slightest of mistakes on them. That will undoubtedly assist you in ensuring that you do not get into any difficulty owing to the identical issue with your reverb.
2. Inspect the Tank
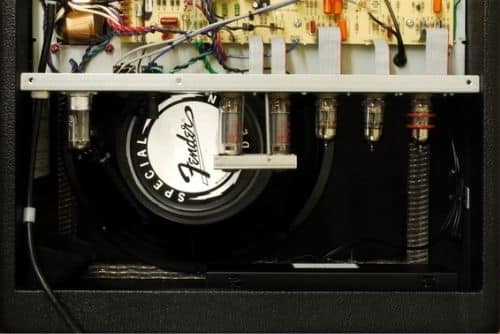
You also get a tank for reverb on all the amps that support reverb, and that is certainly something that you need to be careful about. Most of the time, if you are facing a problem with the reverb, it has to do with the tank on your Fender Blues Jr, and you will need to inspect that carefully.
To start with that, you will need to ensure that all the cables that go to the tank are connected properly, and do not have any damaged or broken connections. Afterward, you will also need to inspect the reverb tank for any sort of cracks or damage on it.
If you find any such problems with the amp, it would be better to get that tank replaced, and that should ensure you have just the perfect experience with the reverb that you might be looking for.
3. Get it Checked
Lastly, if nothing has worked out for you so far, that is something that you will need to be careful about. To make it certain, it would be better to get the amp checked with a Fender authorized warranty center.
They will be able to diagnose what has been causing the problem with reverb for you on the Fender Blues Jr. Not only that, but they will also be able to get it repaired or replaced for you.
You need to be mindful while you are dealing with such stuff not to take the amp to any of the unauthorized technicians or service centers because that will not only be dangerous for you to have an amp that has been repaired by an unauthorized tech, but it will also void your warranty, and you need to be particularly careful about that.
Getting the reverb problem fixed by an authorized technician would keep your warranty intact and also mitigate the risk of other problems. Instead of tampering with such an expensive amp yourself, it’s always better to let a professional take a look at it.


This was a good demo. However, your suggested settings didn’t have the same results on my new Blues Jr VI. You did inspire me to experiment more, though.
Horton (not Heat).