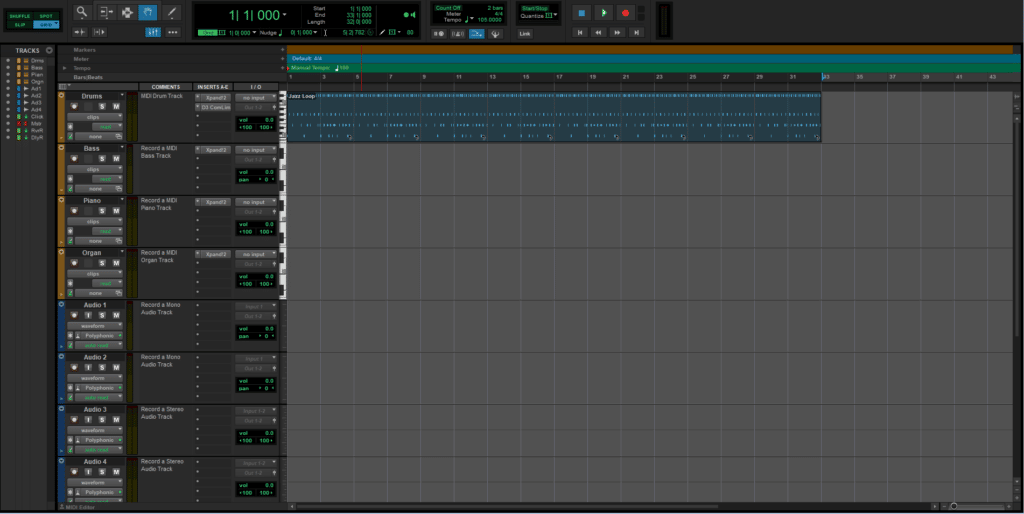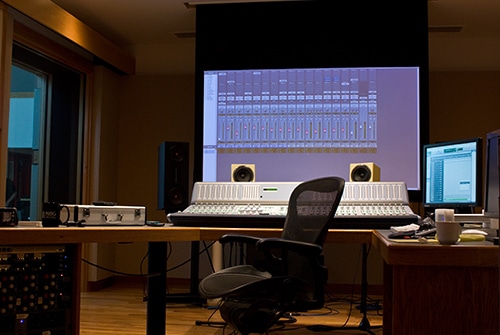
Pro Tools is an industry-standard software that is used for music recordings, sound design, audio editing, scoring, remixing, audio for video, composition, and so much more. It is equipped with plenty of features ranging from a simple user interface to a large number of available plugins.
Many audio engineers and musicians use the functions and features of this audio production system for their work. Pro Tools meets the requirements of a professional recording environment.
Whether you need to create demos with guitars, drum loops, and locals, or you demand a system that can handle the volume of professional studio work, Pro Tools is an ideal choice for you. It comes with tons of upgrade options and expansion packages.
The working operation of this software is smooth, and it hardly poses any errors. However, the problem with the audio clock is quite common. In this article, we will address the cause of this problem and look for its solutions.
Problem Detected With Audio Clock Pro Tools
- Correcting Incorrectly Clocked Audio In Pro Tools
Incorrectly clocked audio refers to the system where you have various pieces of interconnected digital equipment which are all set to follow a common clock. Most of the users have a Pro Tools HD Native system with an Omni interface and a digital mixer. The role of the mixer is to act as the master clock for the system.
You can open the session setup window to see the clock source in Pro Tools. It is connected with a dot optical, which means that you have to make sure that the sample rate on the mixer is identical to the sample rate of the Pro Tools session. Now, you need to run a short section of audio.
You would notice that the speed is normal, but if you change the sample rate on the mixer to 44.1 kHz, the sessions will run at the wrong speed because it is only playing back 44,100 samples per second rather than the 48,000. Play the audio section again to notice the apparent speed difference.
Usually, the difference is obvious enough to notice immediately, but if you somehow didn’t notice it and did some editing work on a session like this, it won’t be too problematic. All you need to do is just correct the external clock as soon as you realize the difference.
As you set back the sample rate, everything would start running at the normal speed again without going out of sync. The real problem arises if you actually make any recordings while the external clock and Pro Tools are set to different sample rates. Run an experiment and create a 48kHz Pro Tools session.
Record a voiceover through the digital mixer, which is acting as your external clock, and deliberately incorrectly set the sample rate to 44.1kHz. Check the session to confirm the figures and proceed to create the track.
Because of the way you have got this connected, you need to make sure that you have got it set to a one, and this is actually taking its import from a two output, one from a digital mixer. Connect the microphone to it and make a short recording of a few lines. The voiceover doesn’t have to be a pro.
It should just serve as a demonstration. Now play that recording back and hear that it runs at a normal speed and sounds alright. However, the problem comes from the external clock. Let’s say you have made the recording, and then you realize that the clock was set to the wrong sample rate.
For example, if your clock was set to 44.1kHz on the desk, change it to 48kHz and play the recording again to check the results. You can hear that the recording is actually the wrong speed, so you might think well. Just keep the clock as it was, finish the session and bounce it down.
But that bounced audio will be at the wrong speed because Pro Tools thinks the audio is 48kHz, but in actual fact, there are only 44,100 samples per second in the recording itself. Now, set the external clock back to 44.1 kHz. Now it sounds correct. Play the recording again. Now bounce it to disk.
Make it 24-bit 48 kHz bounce. But the problem now is that the bouncing audio itself is inherently going to run at the wrong speed. It would only ever play correctly if you continue to maintain the external clock discrepancy that you had at the time of recording. But if you run this audio on another system, you’ll find that it runs fast.
All you need to do then is create another 48kHz session. Before you go any further with this, set your external clock to 48kHz. In the next step, import the newly bounced audio and hear it again. The speed must be wrong even then. Bring it in and put it on to a new track.
To some people, the audio might sound improved, but it’s not what you really want. Now the question is, how do you correct this. In one method, you can try manually slowing it down and pitching it down by processing it.
You can do this in various ways, including using the very speed elastic audio plugin and the TCE trim tool to extend the audio until it sounds right. Play the recording and observe that it really hits. It’s hard to judge exactly when the audio is running at the right speed, and it is certainly not the best way.
Deactivate that and revert it back so that you can get what you had before. There is a much more straightforward way to do this, which will ensure that the speed is corrected to exactly what it should be. Go into the same session once again and choose the audio.
Click copy, and in the bottom right-hand section of this window, you have the sample rate conversion options. The problem with your audio is that it is actually 44.1kHz, but Pro Tools thinks it is 48kHz. So, this is where you need to manually enforce sample rate conversion.
Check the apply SRC button and from the source sample rate drop-down button menu, choose 44.1kHz. Some of these options might not be visible to you at the bottom if you are on non-HD software. However, you won’t need those options for this setting anyway.
You can also see quality options there, but there is no point in selecting anything rather than a tweak head. The other settings are supposed to be quicker, but the result won’t be as accurate. So, all you need to do is just stick with the tweak head and get the best sounding result. Click done and choose where the audio ends up.
It makes sense to keep it in the default location of the session audio files folder. Click open and put this into a new track. You can see that there is a notable difference in duration, so that tells you that something has changed with the speed of this one.
Remind yourself of the incorrect one, and then listen to the corrected one. There is a wide difference. The latter audio has the right speed, and it is corrected. Hence, if you ever make a recording where you inadvertently set the external clock to a different sample rate than that other session, it is relatively an easy fix.
- Restart The Software
Sometimes the problem with the audio clock is not complicated. It’s just some error or bug in the software that is causing the issue. You just need to close the software running in the background and restart Pro Tools once. It is likely to get rid of all the error messages that you previously received.
- Reduce Buffer Size
Inappropriate buffer size is one of the main reasons behind the problem with the audio clock. Go to the playback settings and reduce the buffer size to 1024. The Pro Tool software no longer faces the error stating ‘Problem detected with audio clock’ once the buffer size is corrected.
- Check On The Drivers
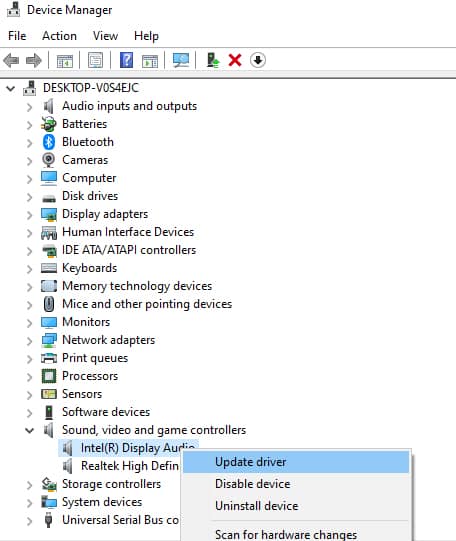
The interface gets to talk to your computer and Pro Tools through the drivers. The ‘class compliant’ interfaces do not need any driver to work on the system. You can check the information on drivers and interface on the product page of the website of your interface’s manufacturer.
If your interface needs a driver to function, you have to make sure that a compatible version of the driver has been installed. In most cases, the driver needs to be installed in its latest version unless you see any compatibility notice.
An important thing to remember here is that the installation of the drivers for your drivers should be carried out after you have installed Pro Tools. If the problem with the audio clock still stays, trash the Pro Tools preference files and make sure that the playback engine you select is correct.
This measure is effective because it resets the Pro Tools without deleting any of your previous work or making you reinstall the Pro Tools.

